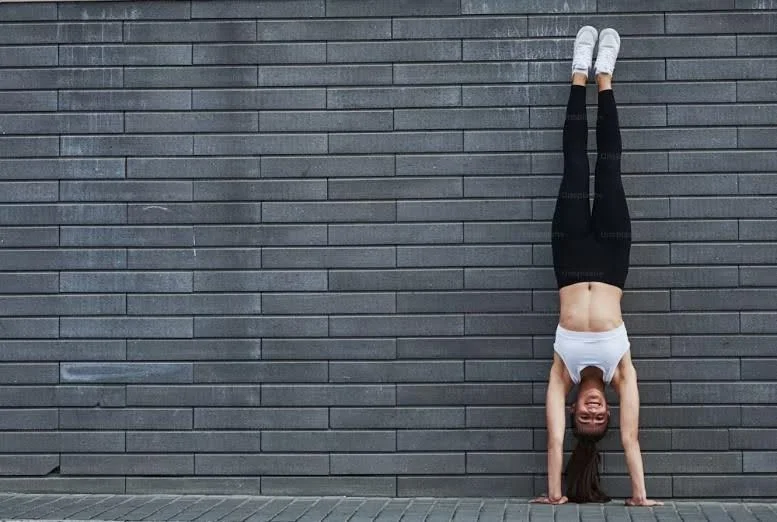
One of the best ways to test your limits is to master the handstand. Handstands make you stronger, more flexible, and stable. Although perfecting this position takes time, you may speed up the process compared to practising aimlessly using exercises that concentrate on its components.
What is a handstand?
Handstands are often thought of as a position that demands full activation of all the main muscle groups; however, the reality is that they call for a blend of flexibility and strength. To avoid hurting yourself, you should warm up before doing handstands in yoga. For warm-up for handstands, do the routines below. They will help you find the right mix of strength and flexibility.
Beginner’s guide to a handstand
To get started with a handstand, you should first learn the basics, which include the following:
- Start by lunging forward and holding your arms straight up above your head. Your more muscular leg should be bent slightly and facing forward. Make sure your front knee stays tucked under your ankle.
- With a single motion, lift your legs sequentially while lowering your hands to the floor. Ensure that your arms and torso remain entirely still.
- Hold on to your core and hips and push through your shoulders hard. Picture yourself standing straight up against a wall (but the other way around) and pulling your toes towards the sky.
- Proceed cautiously, lowering each leg independently until you reach your starting position.
Things to avoid while doing a handstand
The following are some things to avoid while doing a handstand:
- Straight handstands need hands under the shoulders and arms squeezed together. The location is closer than expected. More comprehensive hands activate more lats and triceps, making it easier initially but not a precise straight handstand. Contortion handstands benefit from broad hands.
- Shoulders are broad when arms are straight above. Your lats may be too tight to keep this posture. Shoulders close as you draw hands forward. Instead of stacking, shutting shoulders in a handstand angles the torso away. That causes unintended spinal extension. Again, closed shoulders simplify balancing, but you lack the line you want and need more muscle, so you’ll exhaust sooner.
- Kicking up with the back bent is a typical mistake in handstands. Instead, keep your lower abs engaged and strong to remain somewhat hollow or neutral as you enter. Adjusting balance from an arched stance takes considerable movement, so avoid it. Additionally, uncontrolled low back movements might create discomfort.
Benefits of a handstand
There are many advantages to doing handstand pose, such as:
- Enhances balancing
- Makes the hands and arms stronger
- Builds core strength
- Promotes bone and spine health
- Supports digestion
- Boosts lung functionality
- Boosts circulation
- Encourages good health
Additionally, to these physical advantages, doing a handstand increases a person’s confidence, lowers stress, and sharpens their focus. Soothing the nervous system, the reversed blood flow makes you feel balanced and calm.
Conclusion
If you work hard and follow a plan, you can learn to do a handstand in 30 days. To get better at exercise and get closer to your first handstand, follow the instructions in this guide, pay attention to your posture, build strength slowly, and keep at it.


